Design
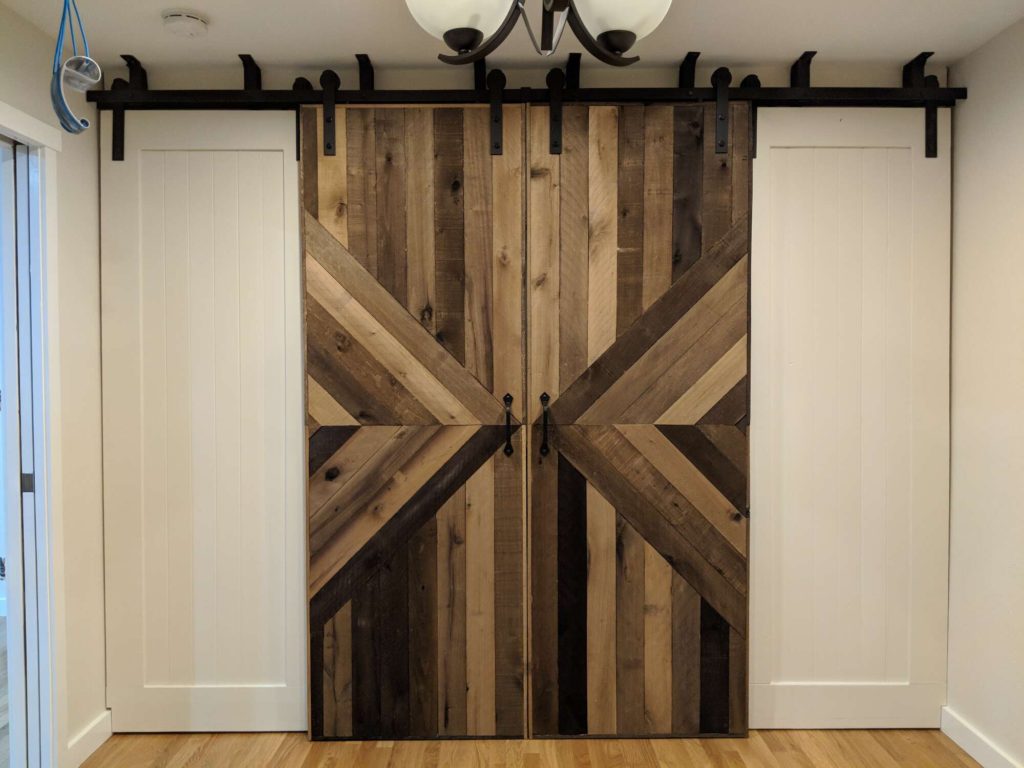
Building a sliding barn door for a closet can look great and be affordable. This is a step-by-step guide on the diamond-pattern design, and how to hang the doors from ceiling rafters.
Total cost: $800
- $450 steel hanging hardware
- $350 wood
Materials
- Ceiling-mount hardware tracks
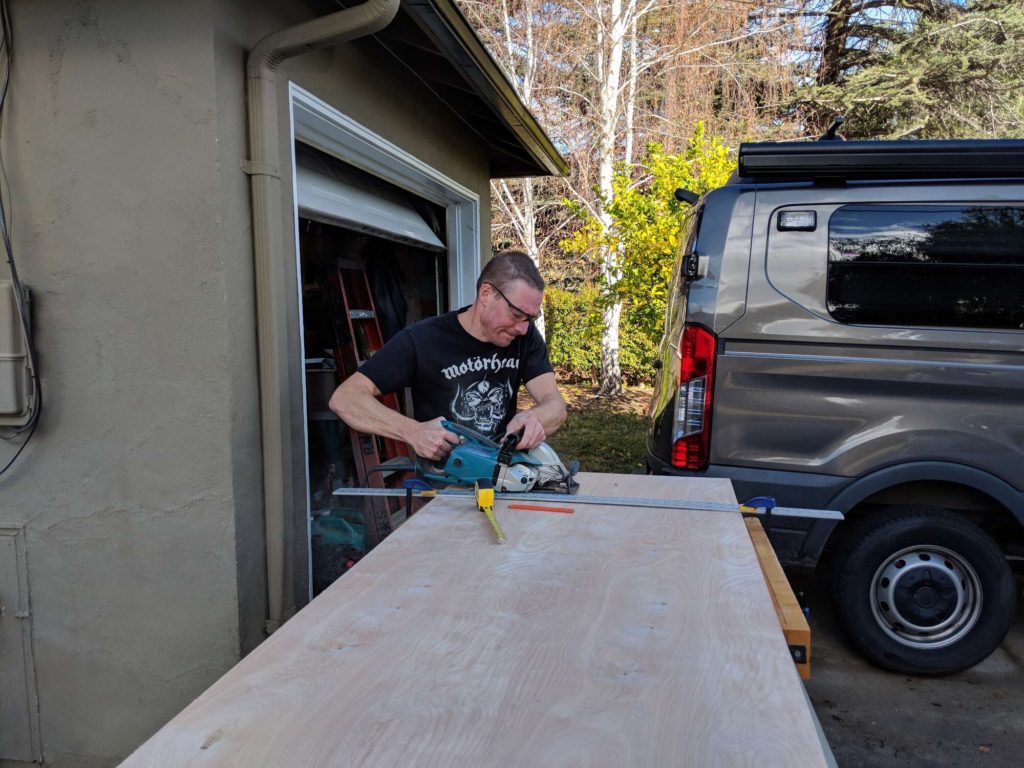
- Sheets of plywood for the backing of all hanging sections
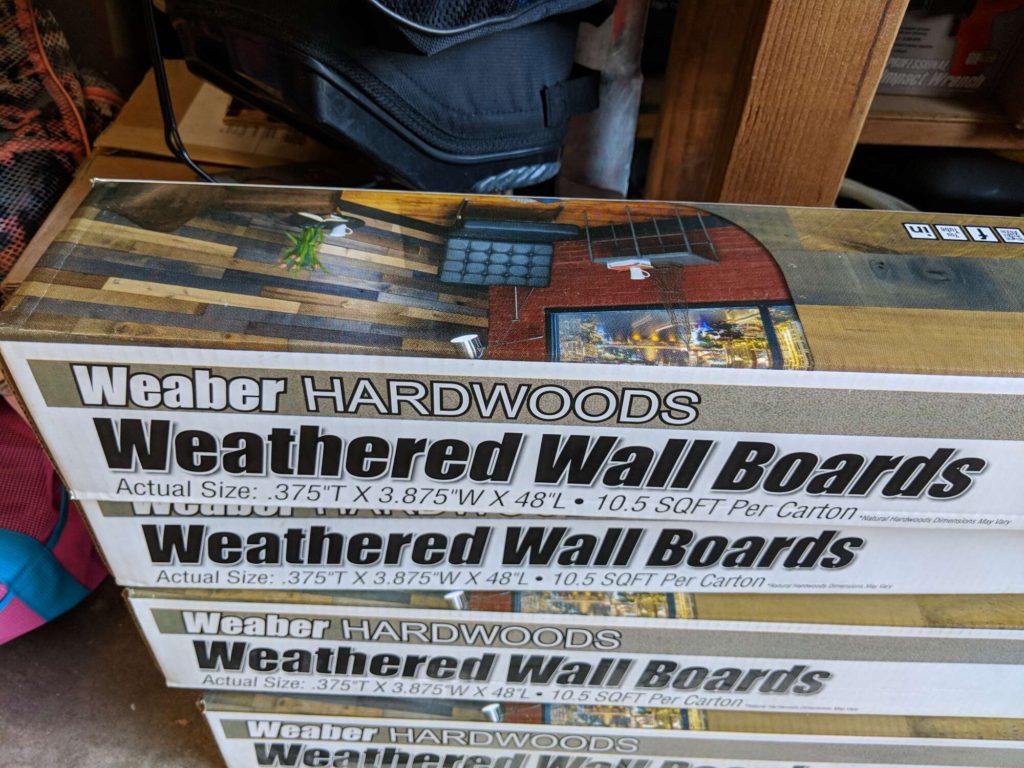
- Pre-weathered boards for the decorative center sections
- Tongue-and-groove cedar paneling for the outside white sections
- 2×6″ lumber for the frame of the white sections
- 23-gauge pin nailer (optional)
- Liquid nails
- 6″ MDF floorboard (optional for aesthetics)
- Cast-iron handles
- Soft close sliding door mechanisms
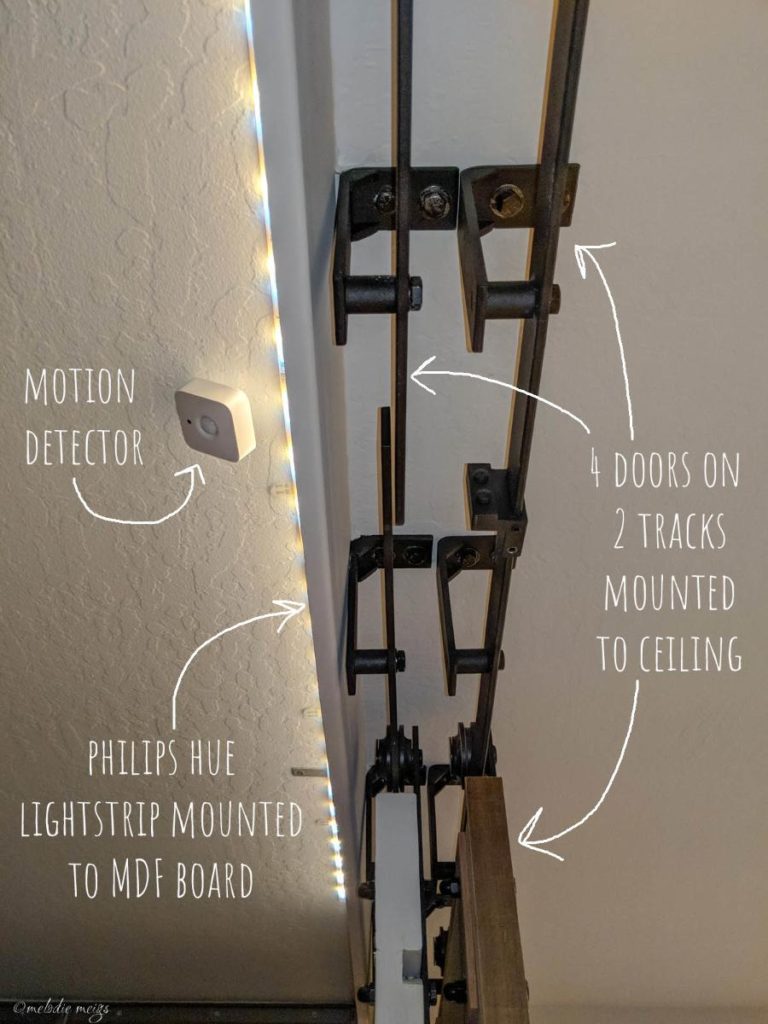
- Philips Hue Lightstrip with a motion detector
Step 1: Mounting the hanging hardware
Our biggest dilemma was how to mount doors for the closet. Normally there’s a solid wall with a hole for a door, and sliding/barn doors are mounted to the wall (think of a pocket door). We instead had just a gaping open space in our bedroom.
We needed a way to mount the doors to the ceiling, not to a wall. Unfortunately our rafters ran parallel to the plane of the doors, and of course, we wanted the doors about smack dab in the middle of the rafters. We mounted 2″x4″s between the rafters in the ceiling, in the attic, to bolt the doors into.

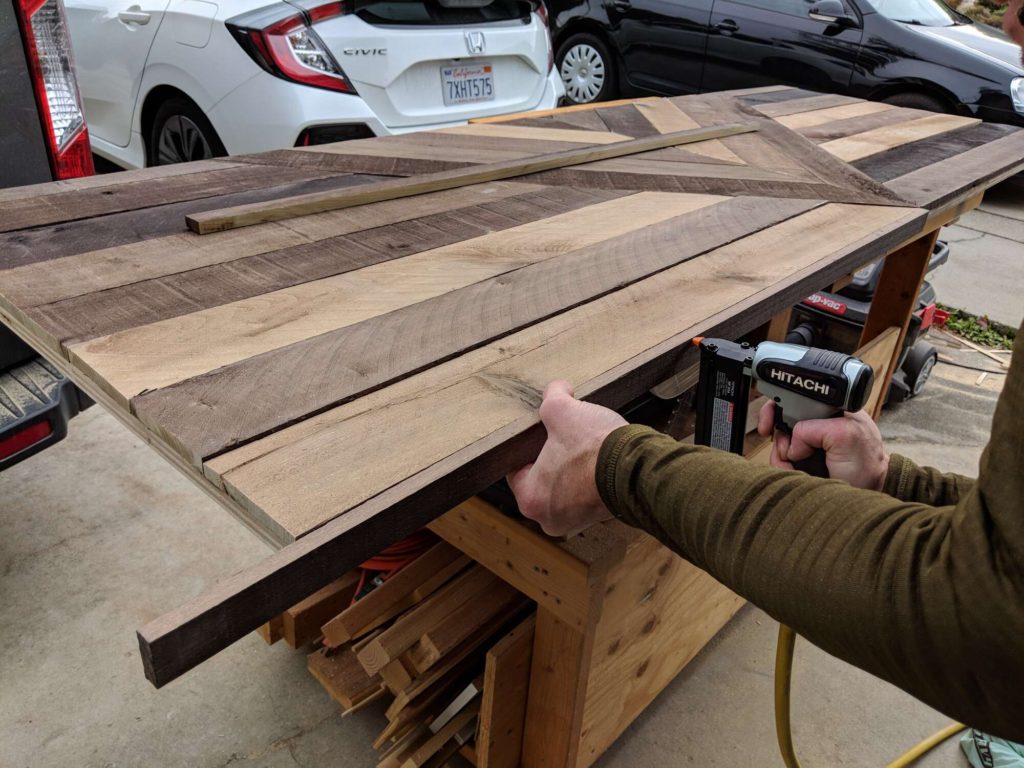
Step 2: Making the Center Weathered Barn Doors
The center doors were made using a sheet of 5/8″ plywood for the backing. We found pre-weathered boards from Home Depot that came in a pack of a variety of colors for the facing boards.
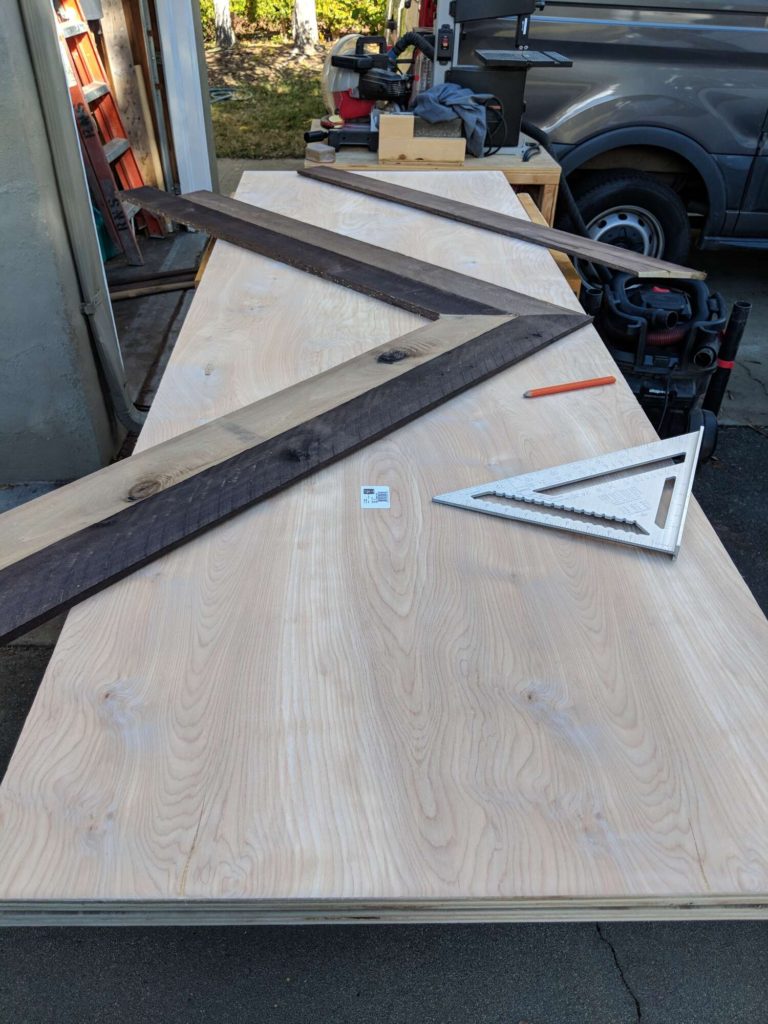

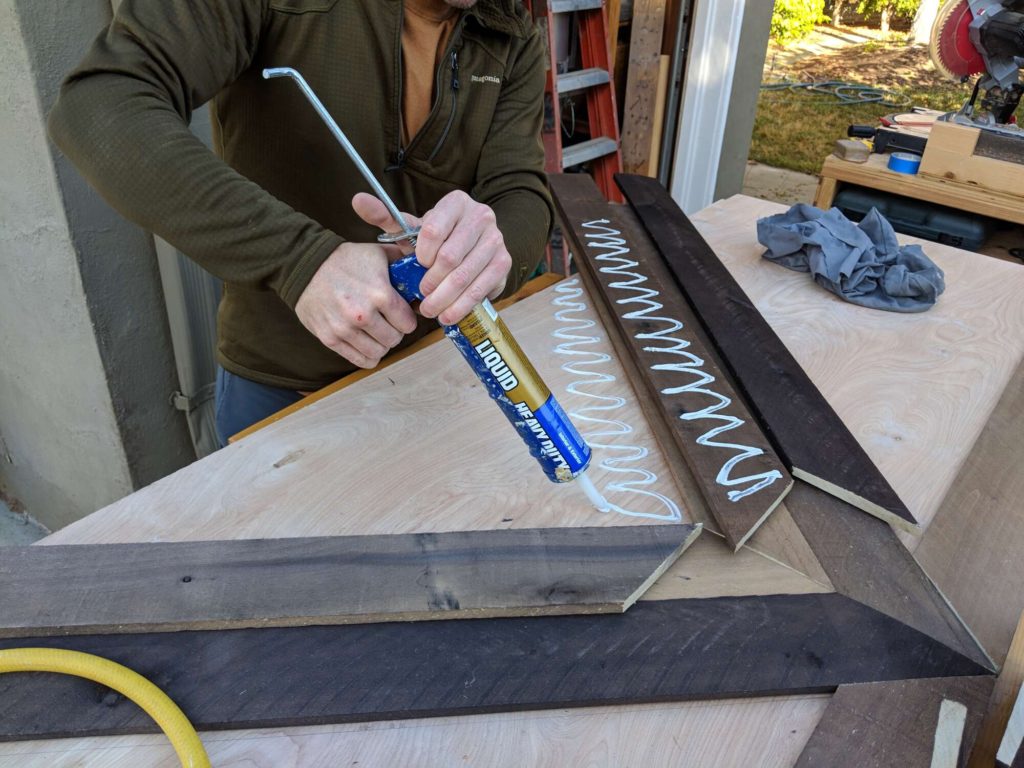

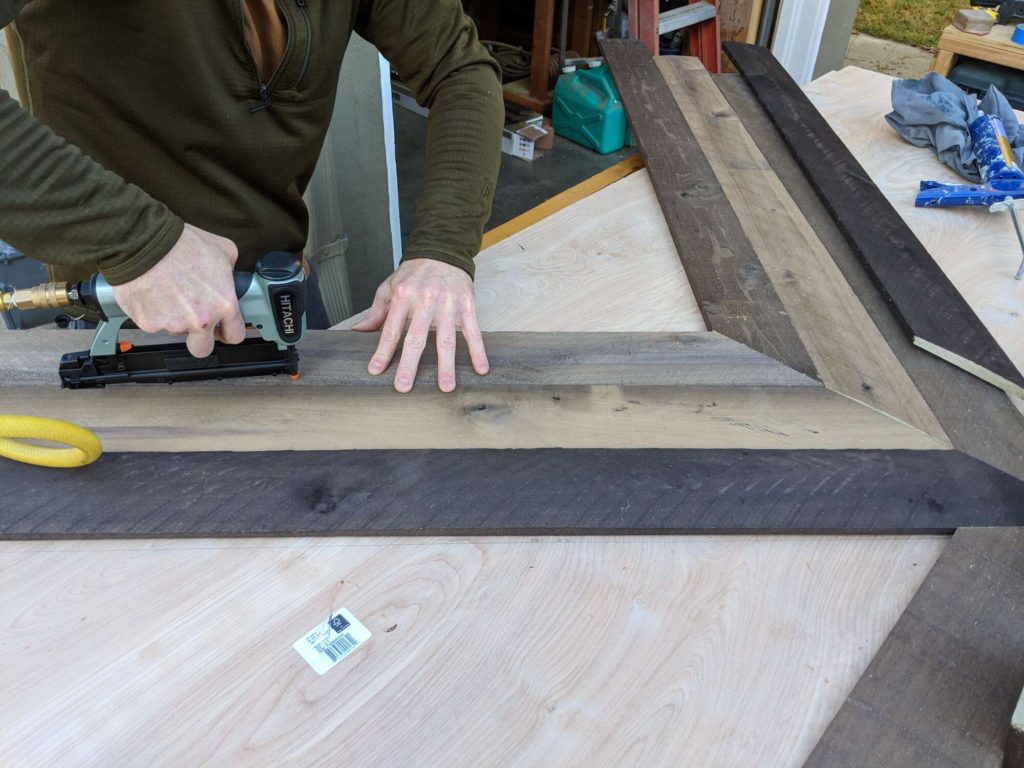
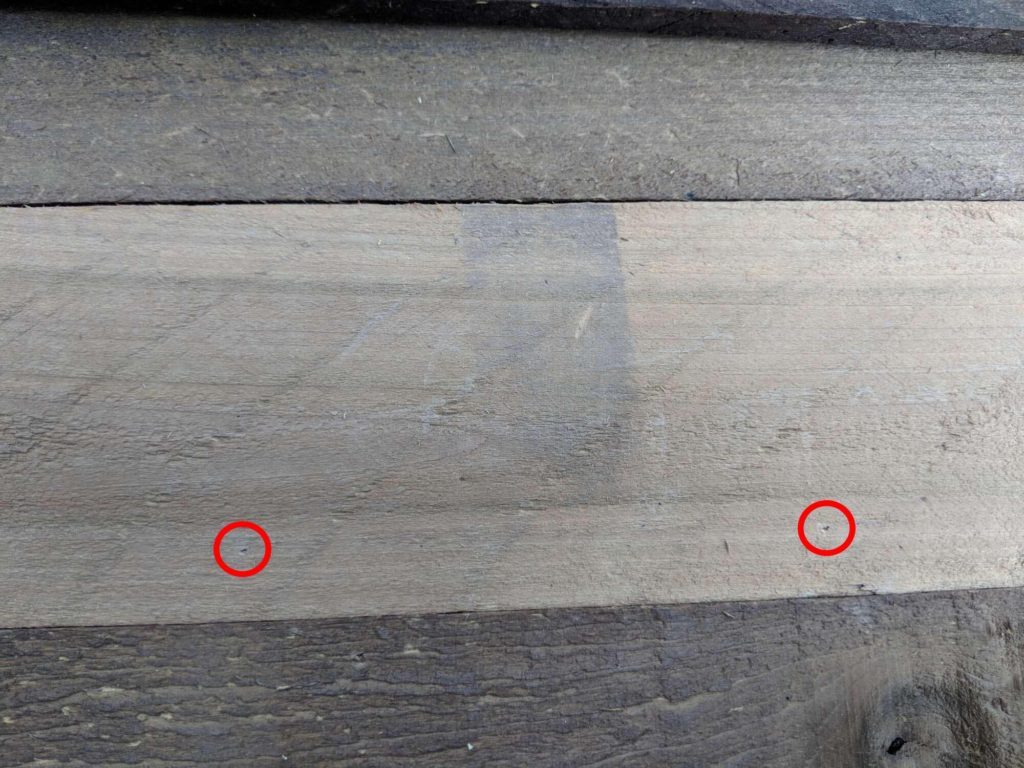
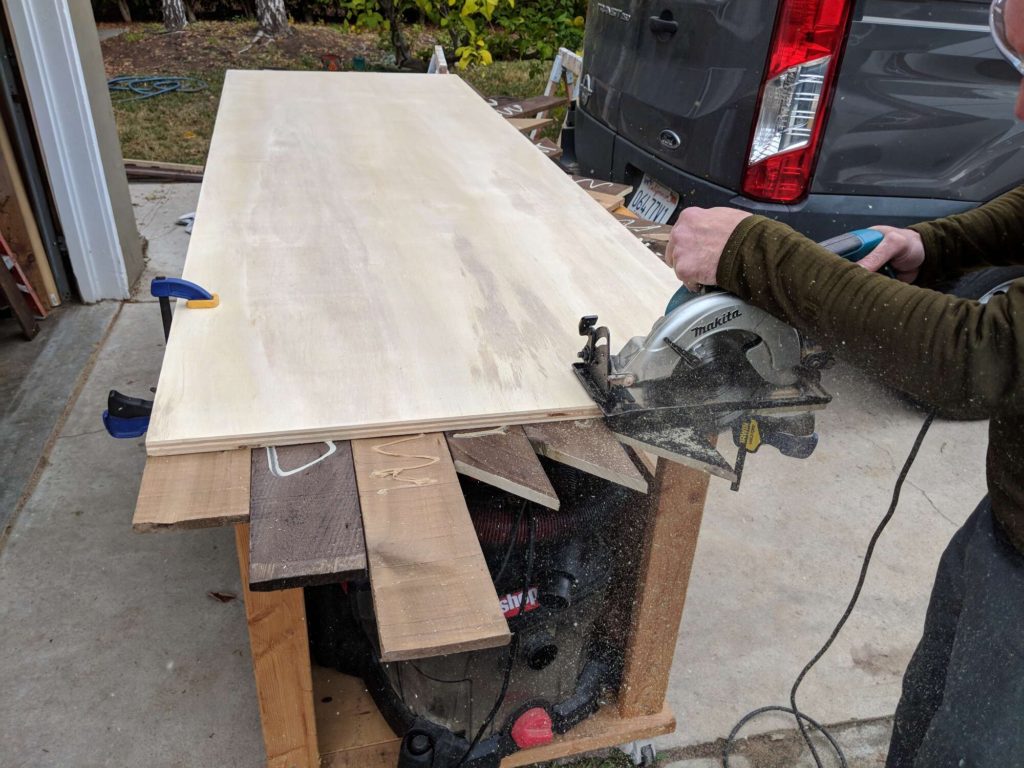
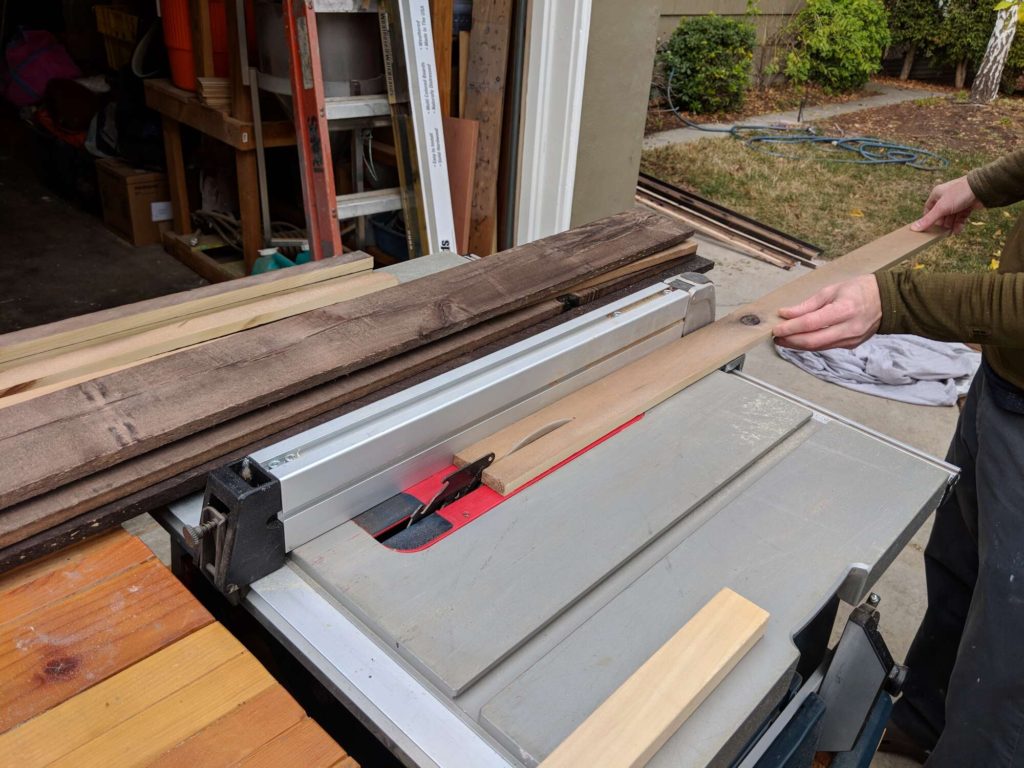
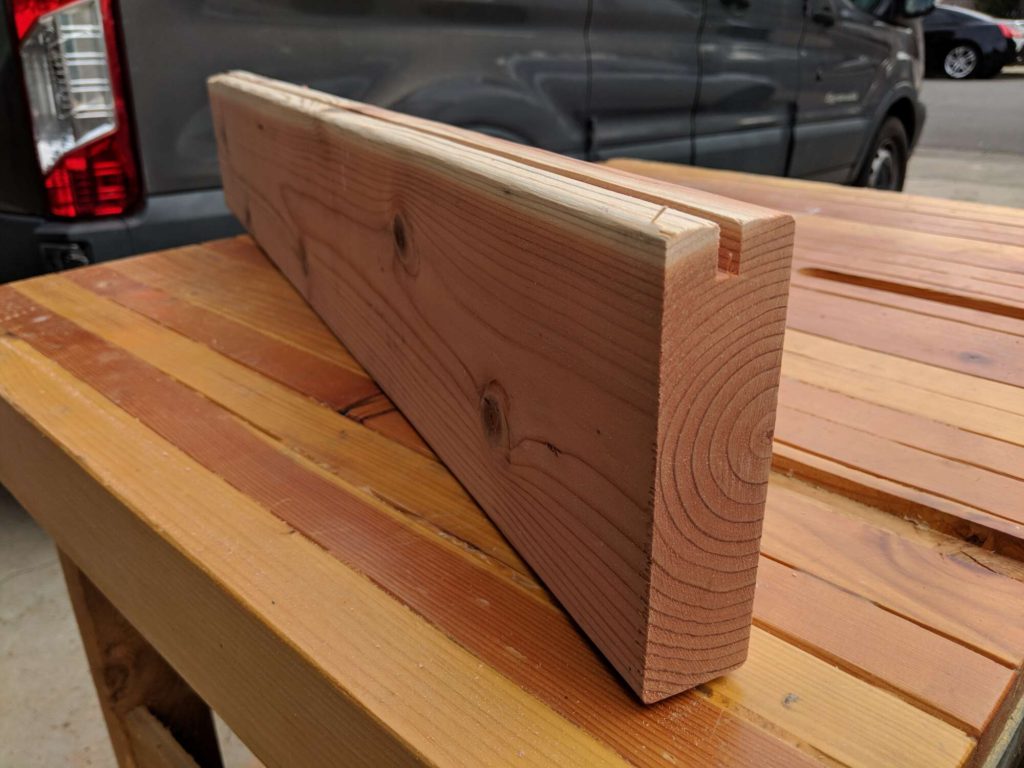
We wanted a border to hide the edges where you’d see the plywood meet the weathered boards. We used the same weathered boards for the border. We flipped the weathered boards on their short side, so the ~5/8″ edges faced out. Rip the boards to the thickness of your plywood plus weathered boards, ~1.25″. Don’t forget to take the size of your border into account when initially cutting your plywood.
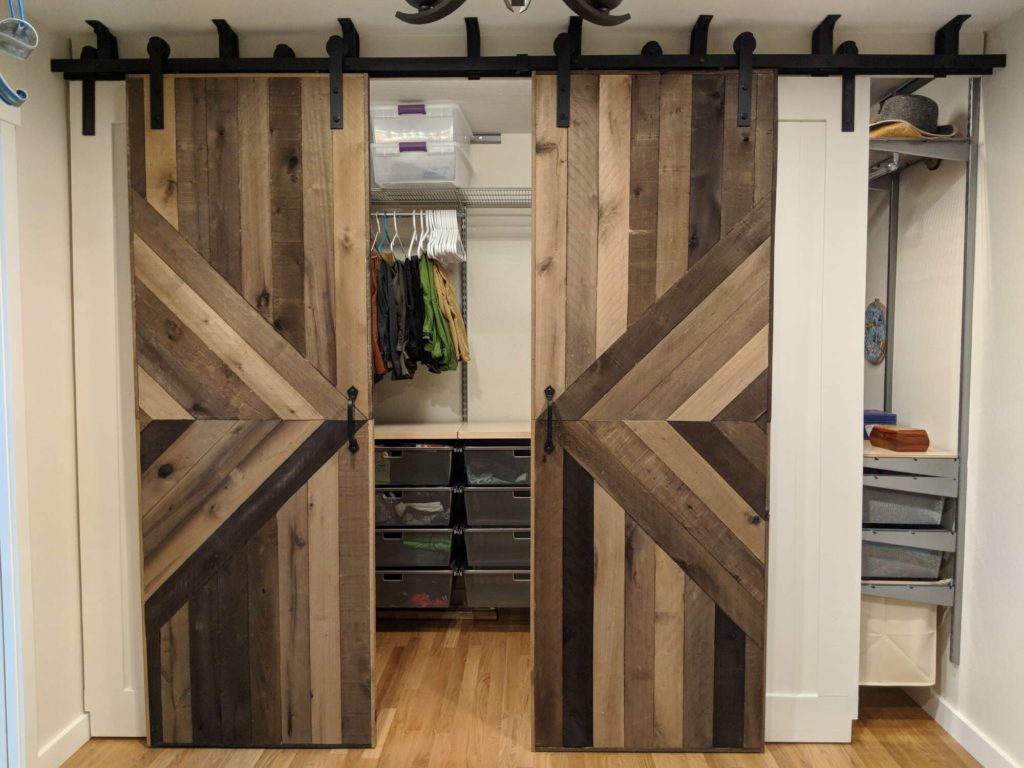
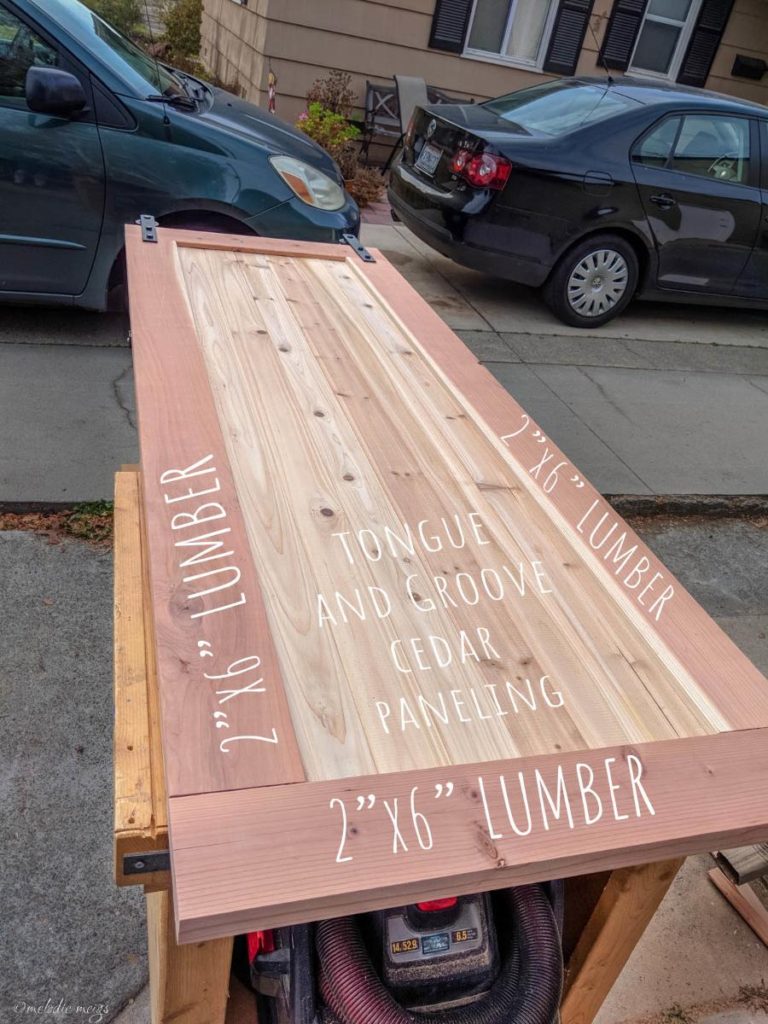
Step 3: Making the Side Doors
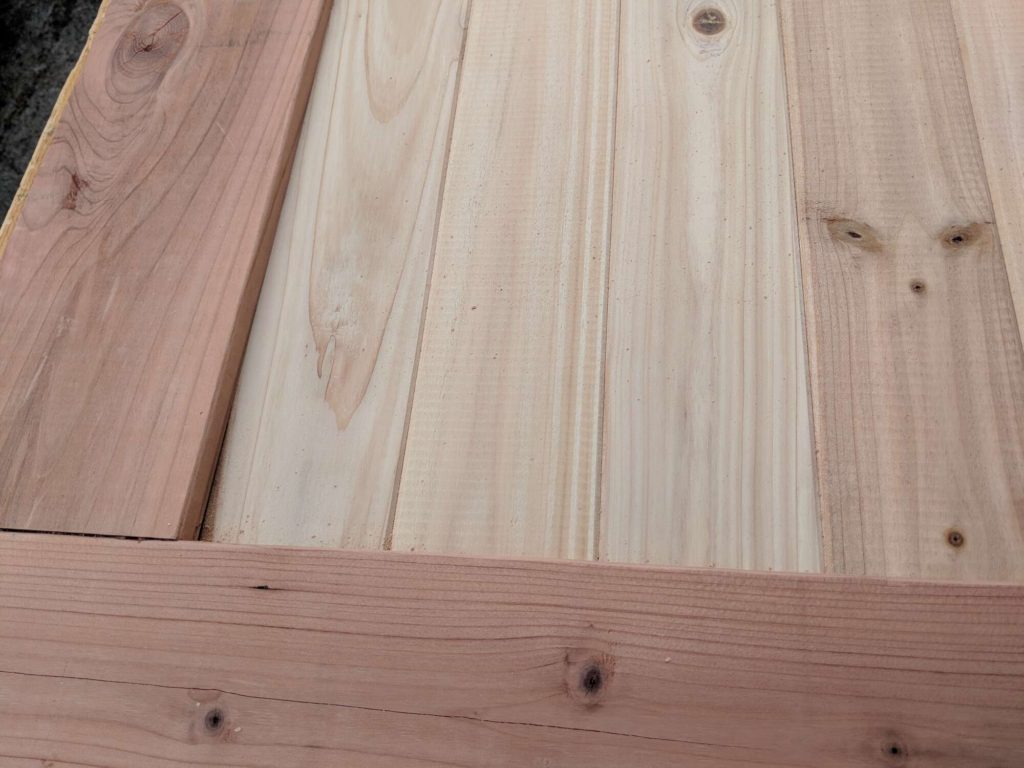
The side doors are relatively simple and plain, and painted the same flat creme color as the rest of the room. They consist of a border of 2″x6″ lumber with cedar paneling in the center.
Sidenote: Our side and center doors overlap by about 1.5″, so there’s no gaps between the doors, and it prevents light leakage. Take any overlap into account when calculating the width of your doors.
Now paint the doors white.
Finishing touches


→ Explore more articles in DIY Home Projects